

This cute little Treat box or a type of it has been circulating around for awhile, and I've been meaning to make one... and I did for Christmas and then modified it quite a bit to make my own.. I really wanted a treat dispenser that would close at the opening .... so, I came up with this one finally that suited my needs and is easy to duplicate in any size really.
Hope you enjoy this as much as I have making these....
What you'll need to duplicate mine:
Pool Party Card Stock in 12x12
Coordinating color cardstock (used Real Red in this sample) and Crumb Cake for bows
Heart was made with Real Red in the Co'Ordinations cardstock
Silver glimmer paper for (Love)
Designer Series paper (Fresh Prints from the new Occasions Mini)
Paper Trimmer (I used my Stampin' Trimmer... it does it all, well almost)
Paper Snips (scissors)
Sticky Strip to adhere
Glue dots
Dimensionals
liquid glue (used mono liquid glue) My fav!
New: Spiral Flower Originals Sizzix Die and the Bigz L Die "Gift Bow
Expressions Thinlits dies (Love), Hearts collection Framelits and
Apothecary framelits
Itty bitty punches (small flowers)
corner rounder punch
Rhinestones Basic Jewels
Seam binding ribbon in Pool Party
-----------------------------------------------------------------------------------------------------------------------
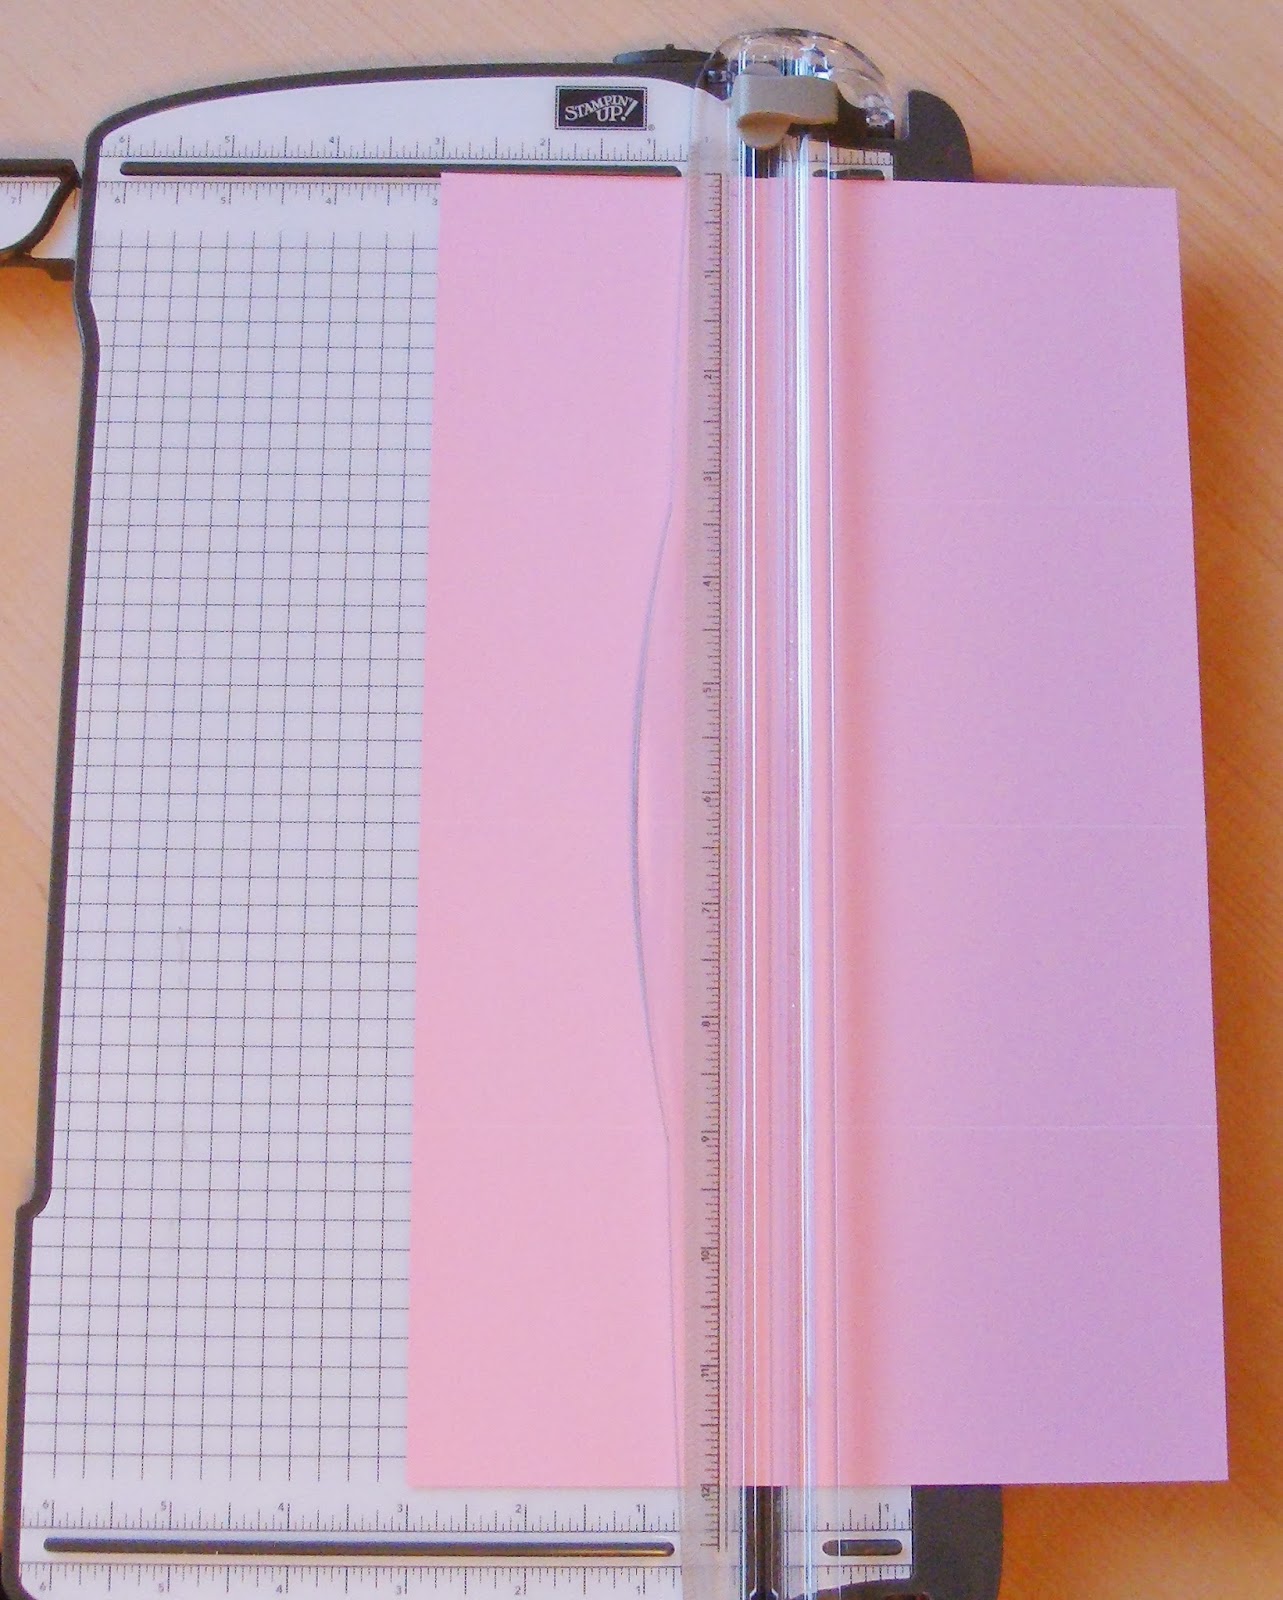
Starting with 7 x
12" cardstock
Score at 3-1/16, 5-3/4,
8-13/16, 11-1/2" parallel to the short edge

See score lines here:

Step 2: Then turn to long side and score at 3” from 0 to
12…see next pic
Step 3: Now… move over to the 4” mark and take cutting
blade to cut from bottom… edge to first 3 1/16” score mark, stop – lift the
blade and without moving the cardstock… move the blade to the second score mark
and start to cut from that point to the end or top if looking at pic … so the only area not cut is the 2nd square that’s
labeled “Bottom” in the schematic – first pic.. or see pic below here:

*** You now have to be very careful… do not remove
the flaps… turn the cardstock as in the
pic below and measure about 1.5” from the score mark on the second square (the
only one not cut) so you are removing the long flap on the right… see pic on left... do the same
from the first score mark 1.5” to the left and remove that section as well –
pic on right here:


Candy box flap construction:
At this point you can create the flaps for the bottom of the box and the little flaps(and hinges) that will tuck in the box to hold the lip from falling open. See pic here for what the cuts will look like:

Step by step to cut ...
- Cut the first 3 1/16” score mark to the 3” score mark and snip off at an angle into the first square and do the same from the 5 ¾” mark.. cut to the 3” score and snip a small angle to the right so it matches the pic below.
- Take the cardstock and move it to the 2 ¼” mark (see pic.. the blade is sitting on the cardstock at the 3rd score mark and the 2 ¼” mark), you are going to cut from this point to the top. This will create the box opening…

- Now turn the cardstock so you can snip into the last 5 ¾” flap at an angle to the left. See Pic below here:

4. Almost done! Whew! Now we will concentrate on the hinges of the box flap (in pic above… the “T” above the cutting bar.
5. Pic A: snip about ¼” (see where scissors are inserted), make a small triangle by angling the scissors as shown.. cut slowly and only to about a 3/16” mark from the edge of the 1 1/2” tab. (In the pic.. you see a cut mark already there… I did this prior and you can too.. I cut straight to about ¾” from inside score mark) and turn your scissors to cut a skinny strip to the end of the tab. Do the same for the left hinge….
Pic A

Pic B

- This is what we have now: Fold your score marks as shown and take a corner rounder and round off the edge of the flap where the hinges are attached to.. this will finish the flap nicely.
- At this point.. if you plan on adding additional cardstock and/or designer paper to the side of the box to decorate ... you will want to do that before you assemble the box.. much easier and I will go into that now. Otherwise, assemble box as in Step 9 below.
- Here are some measurements for cardstock squares to decorate your box:


- **If you are double layering (cardstock and then a designer paper on top)... just make the top layer of paper 3/16" smaller than these cardstock measurements in order for your layering to be even. See pic here for sample of paper layered on the red cardstock...
.jpg)
c. Decorate all sides of box as you wish… leave the front of the box with no embellishments except for the layered cardstock… you will want to add the embellishment later so it creates the box closure correctly…
So, now you have a box with the squares of cardstock and maybe some designer paper adhered to it. You can now go to step 9.
- You will use a strong adhesive ( I used sticky Strip) for the two flaps on bottom of box and the ½” flap that will close the cube (box)… See pic for how you want to close here: For a stronger finish, tuck the bottom flaps in and adhere to the bottom of box… when you finally assemble, you will adhere the box to a base in a later step. Adhere your box… making sure it’s all straight.

- To create the base for the box: Piece of chipboard and two cardstock
squares in 3 x 3 3/8” measurements … adhere each cardstock
piece to both front and back of chipboard.
You can ink the edges of the chipboard in the same color of the
cardstock you are covering with… with a sponge so you don’t see the
chipboard edges. You can also use a
coordinating marker. Adhere the box
bottom to the base using sticky strip again.
11.
To create the box lid:
a)
Score 4-1/4 x
4-5/8" piece of coordinating cardstock at 3/4" on all sides. Cut and
taper the corners, then adhere little flaps under the lid.
b) Measurements for lid trim in coordinating cardstock and Designer Series Paper decorating the lid:
b) Measurements for lid trim in coordinating cardstock and Designer Series Paper decorating the lid:
c)
Cardstock: 2 - 9/16” x 2
1/2” for front and back flaps and 2 at 9/16” x 2 7/8” for side flaps.
d)
DSP: 2 – 3/8” x 2 3/8”
strips for front and back flaps and 2 at 3/8” x 11/16” for side flaps.
**Decorate the top of the box as you wish.
The front of the box should be decorated with some sort of embellishment
(such as a punched shape or label) that can be adhered with dimensionals and it
should be overlapping the flap a little bit so the flap stays shut. See finished pic here:

More views.... I love it!

Until next time... hope my instructions aren't too jumbled.
Sandra
Sandra, thanks for such an outstanding tut! Far from jumbled, it makes it look easy, even for me, lol! You rock! ~Betsy Z
ReplyDeleteGreat Instructions!! Looks like fun.
ReplyDeletethank you! :)
ReplyDelete